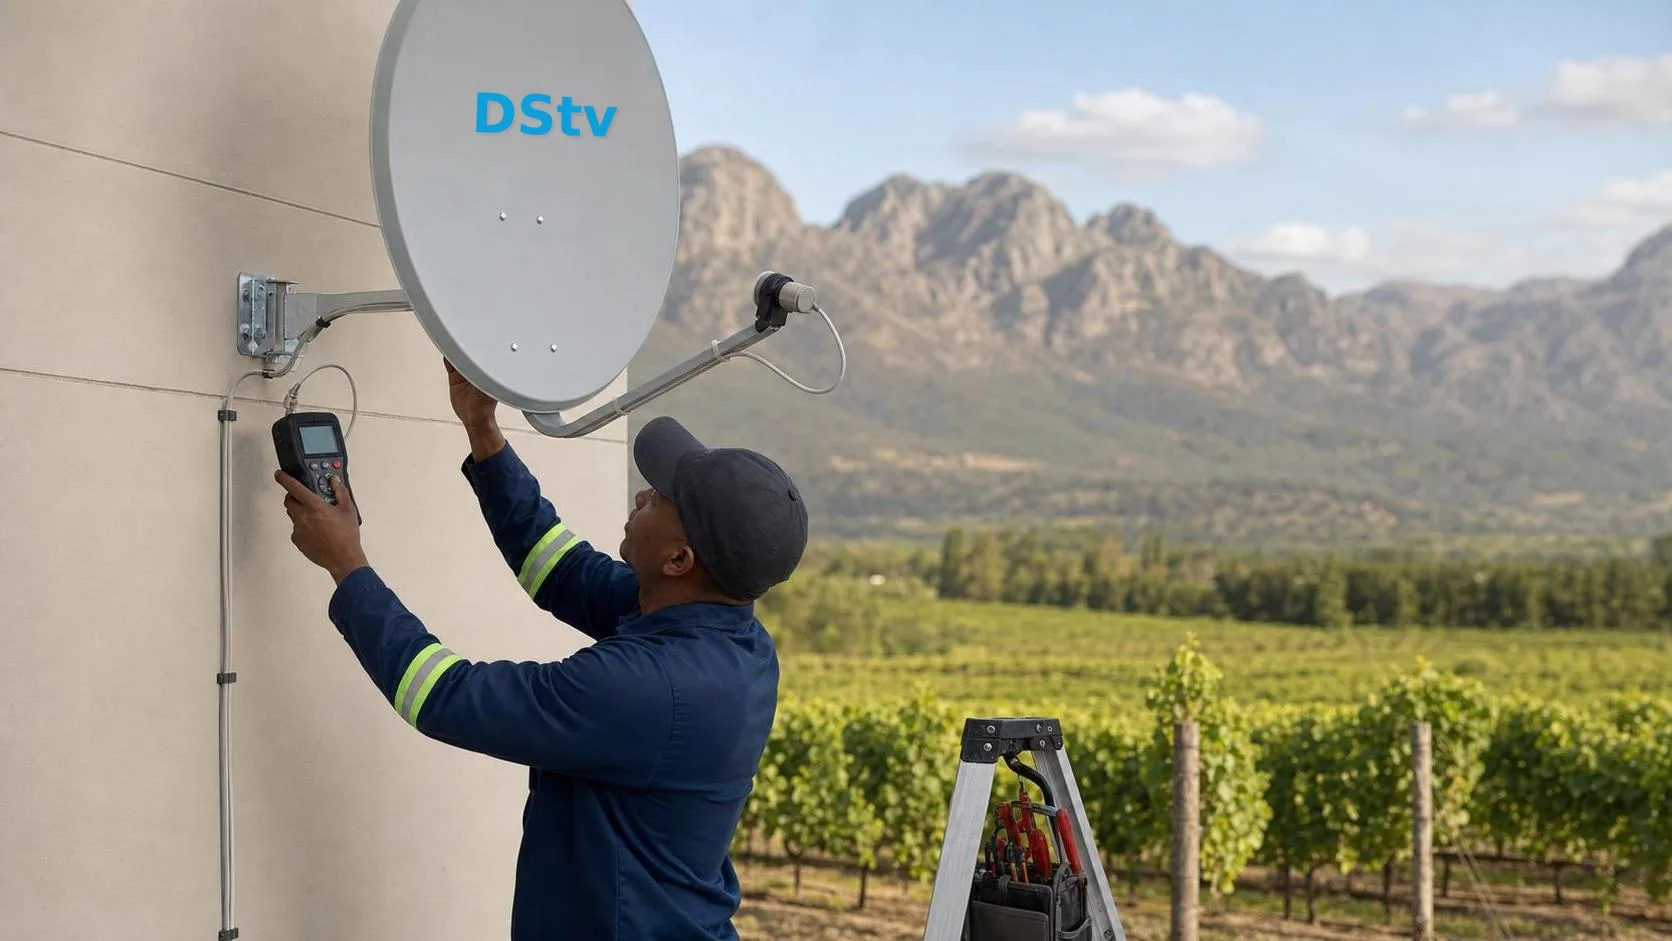
Mon–Sat · Same-day available Franschhoek & the Cape Winelands
Home/Satellite Dish Installation & Alignment

Satellite Dish Installation & Alignment in Franschhoek

New dish on a new build, dish moved after a Cape storm, or poor signal that needs precise realignment: we install, mount and align satellite dishes properly across the Winelands. Galvanised brackets, accurate azimuth/elevation/skew, weatherproofed cable entries.

Satellite Dish Installation & Alignment

Whether it's a brand-new dish on a new build, a dish that's moved after a Cape Winelands storm, or a dish that just isn't picking up the signal it should, we install, mount, align and weatherproof satellite dishes across Franschhoek, Paarl, Wellington and the rest of the Boland.

When you need a dish installation or alignment

The usual reasons we get called out for dish work: a new house with no dish at all (covered by our new DSTV installation service), a recently moved house where the dish is still at the old address (see DSTV relocation), a dish that's been knocked out of alignment by the wind, a storm-damaged dish that's bent or come away from the wall, a poor-signal dish that was installed too low or too close to trees, or a dish that's lost weatherproofing and the LNB has rusted out.

All of those are bread-and-butter for us. We bring new dishes, brackets, LNBs (including the Smart LNB needed for Explora), cable, F-connectors and weatherproofing materials on every callout, so we can complete the job in one visit rather than coming back for parts.
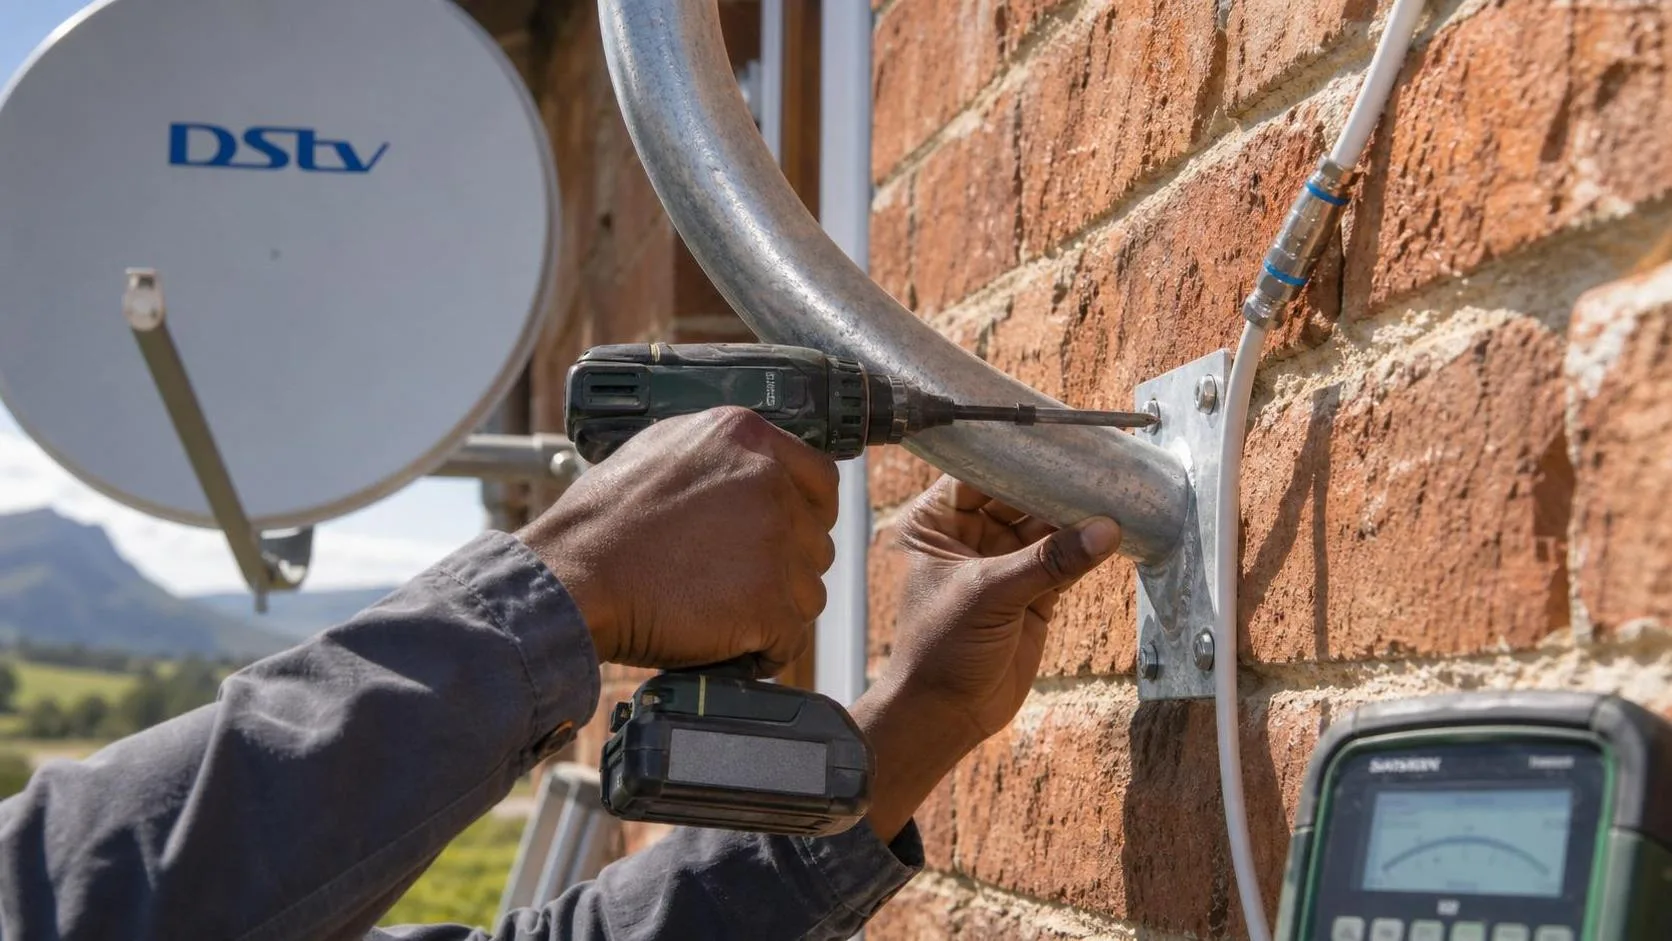
Galvanised satellite dish bracket being secured to a wall

How we align a dish properly

Proper dish alignment is three things: azimuth (the horizontal direction the dish points), elevation (the vertical angle), and skew (the rotation of the LNB on the arm). For DSTV in the Western Cape, the targets are precise, and a 2° error in any of them can drop signal quality from 95% to 60%, which is when you start seeing the picture freeze in mild weather. That's also one of the most common causes of the E48-32 error our repair team gets called out for.

We use a calibrated satellite signal meter to align, not a guess based on the decoder's signal bar. The meter shows us real signal strength in dB and signal quality as a percentage, and we adjust until both peak. Then we tighten everything down, weatherproof the F-connectors with self-amalgamating tape, and leave you with a dish that holds its alignment through the next decade of Cape storms.
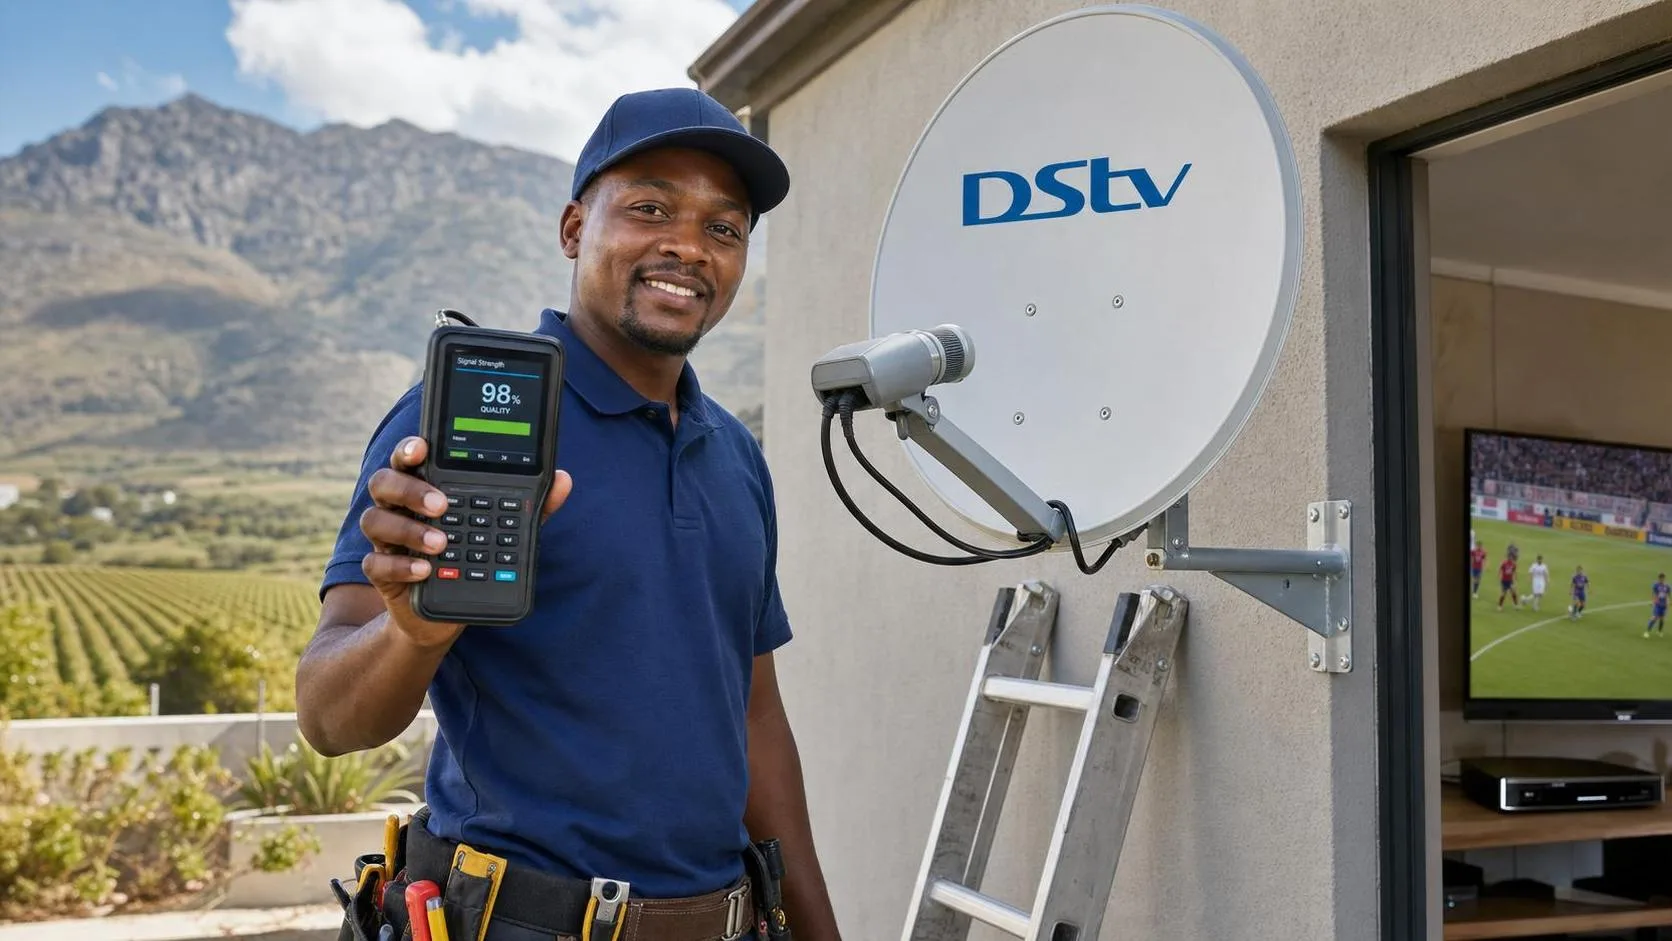
Signal strength meter showing 98% on an aligned dish

Dish positioning matters more than you think

One of the most common installation mistakes we fix is a dish that's been mounted in the only place that was convenient at the time, under a tree, behind a chimney, low down where the gutter overflows onto it, or facing the wrong satellite entirely. We always do a quick walk-around before we mount, identify the cleanest line-of-sight to the satellite arc, and propose a position that gives the best signal with the least risk of long-term problems. To book a site visit, request a free quote or WhatsApp 079 754 5527.
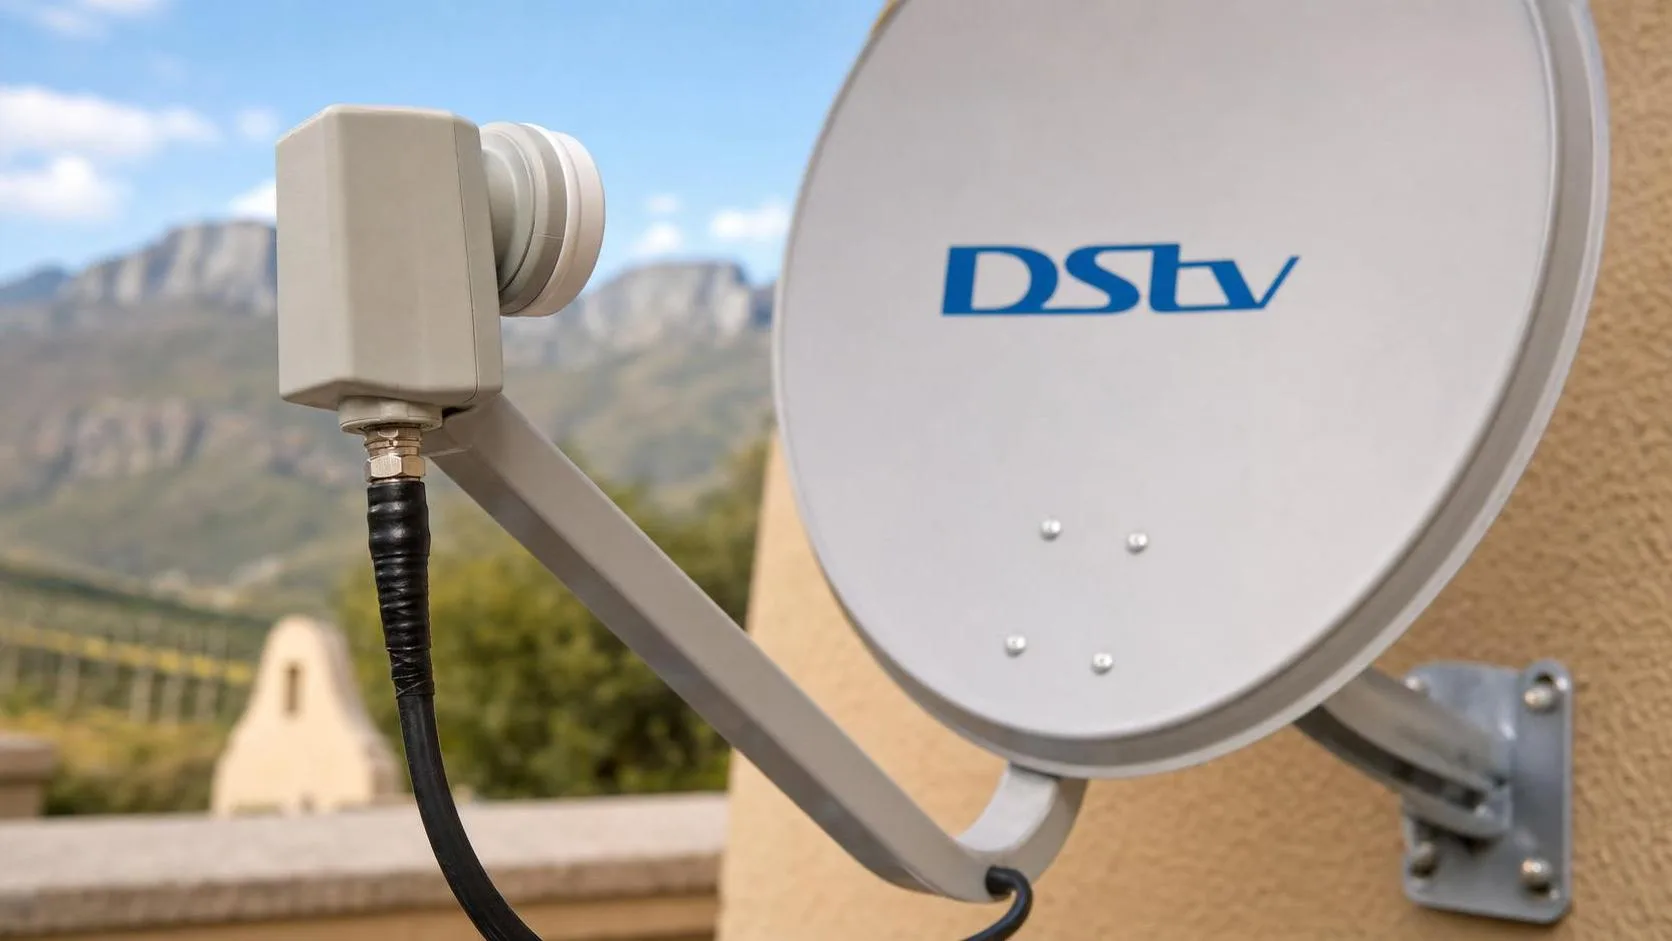
Weatherproofed F-connector and LNB cable on an installed dish

What's included

Every job is tested and signed off before we leave.

Dish mounting
Correct dish positioning
Signal alignment
Bracket tightening
Cable weatherproofing
Signal strength testing

Get a free quote

Prices depend on equipment, TV points, cabling & access, we'll quote upfront.

Request A Free Quote

What affects the cost of dish installation and alignment

Realigning an existing dish and installing a new one from scratch sit at opposite ends of the price range. These are the variables.

New install or realignment

Bringing an existing dish back to peak signal is a short visit. Supplying and mounting a new dish, bracket and LNB is a materially bigger job.

Dish size and type

Larger dishes cost more and take longer to mount safely, but are sometimes necessary depending on the decoder and the reception at your property.

Mounting position

A wall bracket at single-storey height is straightforward. Roof mounts, pole mounts, non-penetrating mounts and double-storey work all add time and equipment.

Line of sight

If trees, a gable or a neighbouring building block the view to the satellite, the dish may need to move to a less convenient spot with a longer cable run.

Cable run length

The distance from dish to TV point drives both material cost and labour, particularly where the route has to stay hidden and weatherproofed.

Weatherproofing and surge

Proper sealing at the LNB and cable entry, plus surge protection, is not where to save money in the Winelands. It is what stops the callout six months later.

For a national view of hardware pricing, see our DStv satellite dish price guide, and our local dish installation and alignment cost breakdown.

Dish faults we are called out for in the Winelands

Dish problems here follow a pattern, and most of them trace back to wind, water or trees rather than equipment failure.

  • Dish knocked out of alignment by the south-easter, so signal drops in the first serious wind
  • Water in the LNB or behind an unsealed F-connector, causing intermittent loss
  • Trees that have grown into the line of sight since the dish went up
  • A rusted or fatigued bracket that has let the dish drift over time
  • Strong signal strength but poor signal quality, which points at alignment or interference rather than cabling
  • A dish aligned to the wrong satellite, so some channels work and others never have

What to expect on the day

  1. Site walk and position check. We look for the mounting point that combines a clear line of sight with a sensible cable route and safe future access.
  2. Mount fitted. Galvanised bracket and stainless fixings into sound substrate, packed and sealed so water cannot track back into the wall.
  3. Dish aligned on a meter. Azimuth, elevation and skew set to peak signal rather than to the first picture that appears.
  4. Cable run and terminated. Quality coax through trunking on the cleanest route, with drip loops and properly weatherproofed connectors.
  5. Signal verified. Strength and quality checked across transponders so we know there is margin in hand for bad weather, not just a picture today.
  6. Locked down and cleaned up. Fixings torqued, cable secured against UV and wind, and the site left tidy.

Typical time on site: a realignment is usually well under an hour. A full new dish installation with a fresh cable run generally takes two to four hours depending on access and height.

Good to know

Satellite Dish Installation & Alignment FAQs

How do I know if my DSTV dish needs realigning?+

Pixelation, freezing, or a “no signal” / E48-32 error, especially after wind, storms, or a new tree or building blocking the view, usually means the dish has drifted and needs realignment.

Which satellites does a DSTV dish point to?+

DSTV uses the Eutelsat 36B and Astra 4A satellites at 36° East. We align your dish precisely to them with a signal meter for the strongest, most stable signal.

What size dish do I need in Franschhoek?+

A standard 60cm dish is enough for most of Franschhoek and the Winelands. Fringe or heavily obstructed sites may need a larger dish, which we will advise on-site.

Can you move my dish to a better position?+

Yes. If your current spot is blocked, we relocate the dish to a clear line of sight, re-run the cable and weatherproof every connection.

Do you replace faulty LNBs?+

Yes. We replace both universal and Smart LNBs: the Smart LNB is required for Explora and Extra View.

How long does a dish installation or alignment take?+

A realignment usually takes 30–60 minutes; a full new dish installation takes 1–2 hours.

Ready to book your Dish Installation?