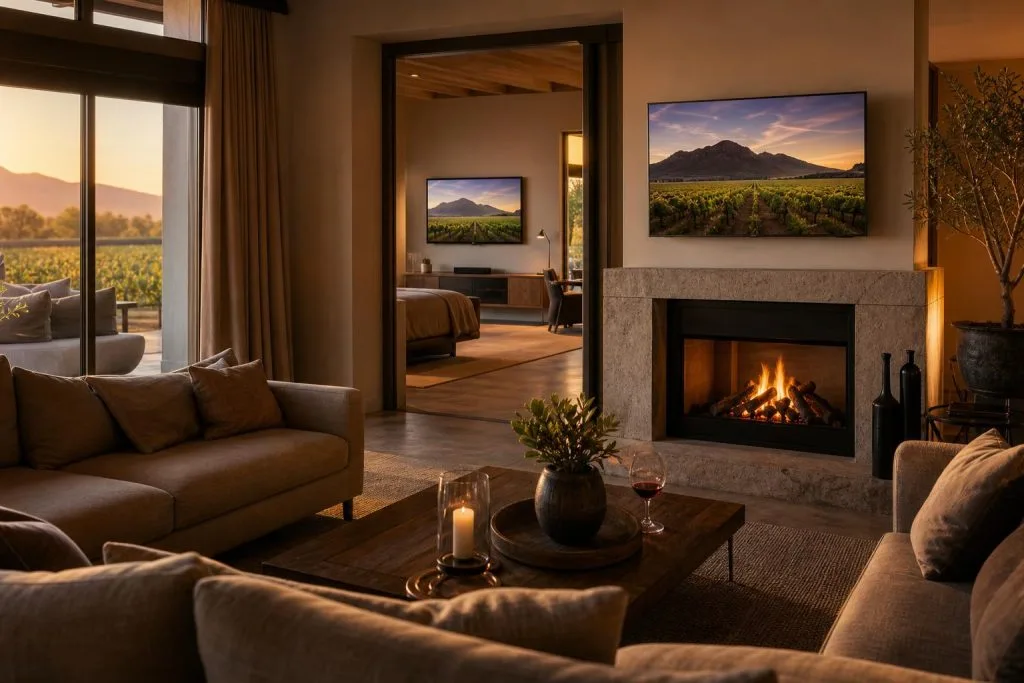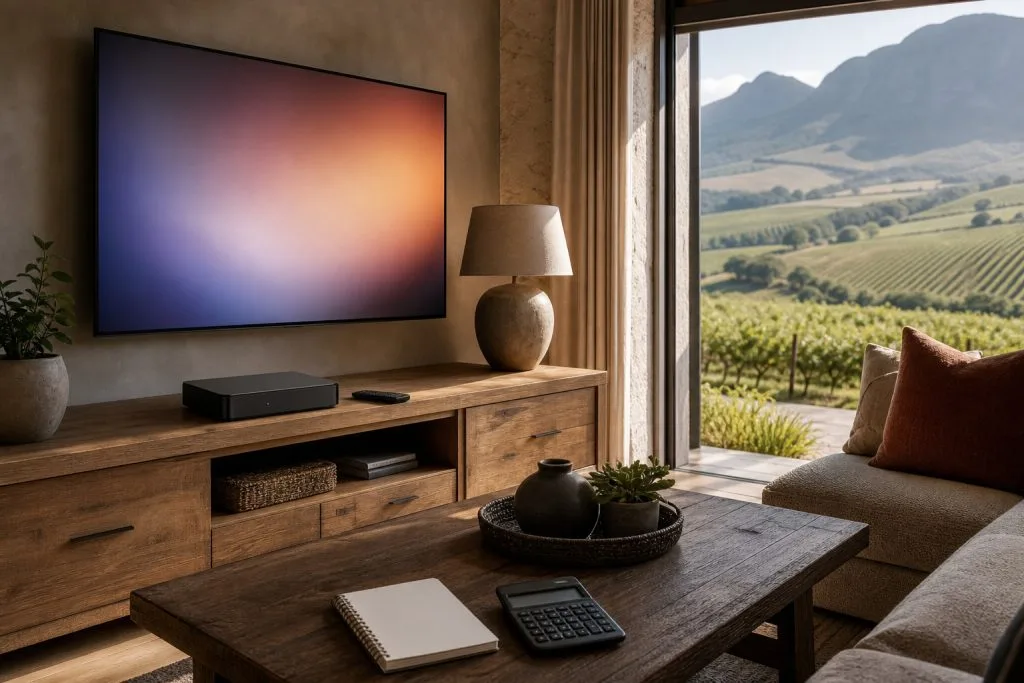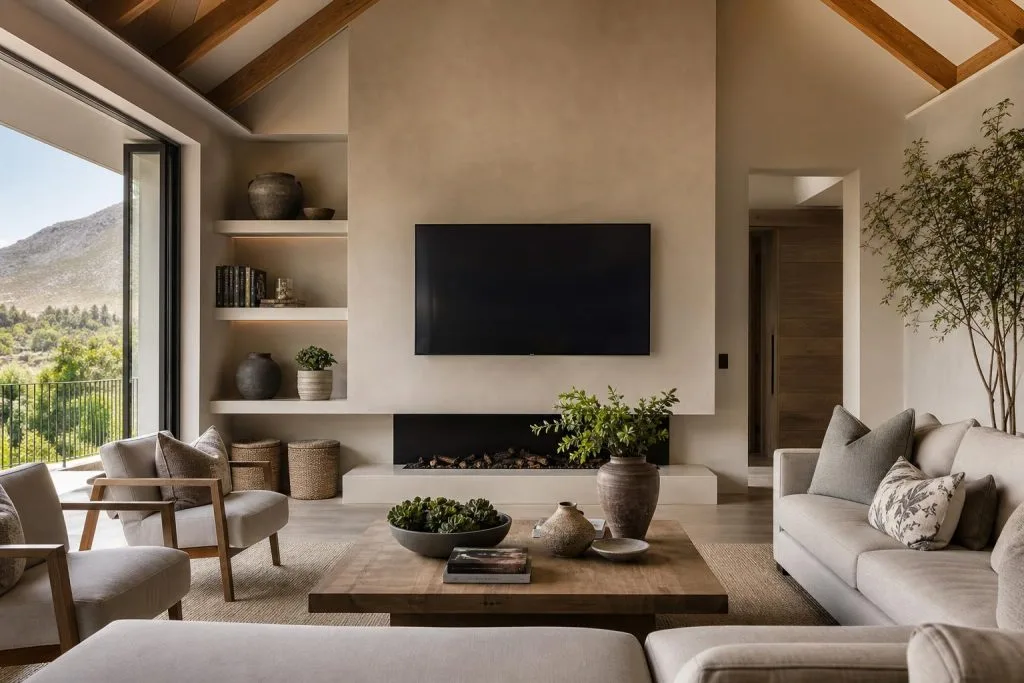
A great DSTV install can still look terrible if the TV hangs crooked and a tangle of cables trails down the wall. Wall mounting and cable management are the finishing touches that separate a professional job from a DIY one, and they matter for safety and picture quality too, not just looks. Here’s how to get a clean, wall-mounted DSTV setup that looks built-in rather than bolted-on.
Why bother wall-mounting at all?
Beyond the obvious tidiness, a wall-mounted TV sits at the right viewing height, frees up surface space, and keeps the screen and cabling out of reach of children and pets. Done properly it also means your decoder, cables and any streaming device are routed cleanly rather than dangling, which reduces the accidental tug that loosens a connector and kills your signal. It’s the natural companion to a proper DSTV installation.
Getting the mount right
The three things that go wrong with DIY mounts are the wrong fixings, the wrong height, and the wrong bracket. A flatscreen needs fixings rated for its weight, anchored into something solid: brick or a stud, never just plasterboard. On the stone and double-brick walls common in older Franschhoek homes, that means the right masonry fixings and a bit of patience. Height matters for comfort: the centre of the screen should sit roughly at eye level from where you actually watch. And the bracket type: fixed, tilting or full-motion, should match the room, not just whatever was on sale.
Hiding the cables
This is where a job really looks finished. There are two clean approaches: routing cables inside the wall through a conduit for a completely invisible run, or using neat trunking that follows the wall lines discreetly. Either beats a bunch of cables cable-tied down the middle of the wall. Good cable management also labels and separates power from signal cables, which keeps interference down and makes future changes painless.
Where the signal side meets the tidy side
A clean mount is pointless if the picture pixelates, so the two go together. The cable feeding your TV point should be proper RG6, terminated correctly, with no strain on the connectors: loose or tugged connectors are a common cause of the intermittent dropouts we cover in Winelands signal problems. When we mount a TV we make sure the run back to the decoder and dish is solid, not just hidden.
Multi-room and multi-TV homes
If you’re mounting TVs in several rooms, plan the points and the viewing together. It’s the ideal moment to sort Extra View or additional decoder points, because the cabling for a clean mount and the cabling for another room can go in during the same visit: far tidier and cheaper than doing it twice.
Book a clean install
We do TV wall mounting and cable management as part of a DSTV install or as a standalone job across the Valley. See our wall mounting and cable management service, and read up on install costs. We cover Franschhoek and the Winelands. Request a quote or call 079 754 5527.
Want the full clean look? Our TV wall mounting service hides every cable.
Based in Franschhoek or the surrounding Winelands? We mount TVs and hide the cabling, usually in the same visit as the DStv work. See our TV wall mounting service, or start at DStv installation in Franschhoek for everything we cover across the valley. Call 079 754 5527 or request a free quote.
Need a DSTV technician?
Same-day DSTV installation, signal repair and Explora setup across Franschhoek and the Cape Winelands.