Short answer: how to run the DStv installation wizard
On your remote press Menu → Settings → Satellite Settings, then run the installation wizard. It tells the decoder which satellite and LNB it is connected to, checks the dish is delivering a usable signal, and scans in your channels. On a dish that is already aligned and cabled correctly it takes a few minutes.
It will not fix a dish that is pointing the wrong way. If the dish is misaligned or the cable is faulty, the wizard just returns a low-signal error: that is a repair, not a settings problem.
What the DStv installation wizard actually does
The DStv installation wizard is the built-in setup menu on every Explora and HD decoder that tells the box which satellite and LNB it’s talking to, checks that the dish is actually delivering a usable signal, and then scans and loads your channels. It’s the same process our installers run on-site after a new dish goes up: the difference is we’ve pointed the dish first, so the wizard is only confirming the signal is good and doing the channel scan. Run it on its own, with a dish that’s already aligned and cabled properly, and it’ll sort out software-side hiccups in a few minutes. Run it hoping it’ll fix a dish that’s pointing at the wrong patch of sky, and you’ll just get a low-signal error and a wasted twenty minutes.
When you should actually run it
You don’t need to touch the wizard every time something goes wrong: most day-to-day glitches, like a frozen picture or a single error code, clear with a decoder restart or a fix-error request through the MyDStv app. The wizard is the right tool specifically when:
- You’ve just had a new decoder installed or swapped in, and it needs to be matched to your existing dish and LNB.
- You’ve moved house within the Franschhoek valley and reconnected an existing dish and decoder at the new address.
- The decoder is showing “no signal” across every channel, not just one or two, and a restart hasn’t helped.
- You’ve added a second decoder for XtraView and it needs its own satellite settings configured before it’ll pick up channels.
- Support has specifically asked you to run it as a troubleshooting step over the phone or on WhatsApp.
Running the wizard step-by-step
The exact wording shifts slightly between an Explora, an Explora Ultra and an older HD decoder, but the flow is the same one every technician follows:
- Open the menu. Press the Menu button on your remote, then go to Settings.
- Find satellite settings. On an Explora, this sits under Settings > Satellite Settings > Installation Wizard (sometimes labelled Home Network Setup on newer software). On an older HD decoder, it’s usually Settings > Installation.
- Step 1 of 4: start the wizard. The screen confirms you’re about to run the installation wizard. Press OK to move to the next step.
- Step 2 of 4: leave defaults alone. This screen shows satellite and transponder settings that are pre-configured for South Africa. Don’t change these unless a technician has told you to: press OK to continue.
- Step 3 of 4: set the LNB type and scan. Use the arrow keys to check the LNB type matches your setup (Single, Unicable or SMATV, depending on your installation), then move down to Scan and press OK.
- Step 4 of 4: watch the signal bars. The decoder tests the connection and shows signal strength and quality bars. Wait for these to turn blue or green and stabilise before the scan starts pulling in channels.
- Let the scan finish. This can take a few minutes: don’t switch the decoder off or unplug anything while it’s running, or you’ll need to start again from Step 1.
What the signal screens actually mean
The wizard shows two separate readings, and people often only look at one of them:
| Reading | What it tells you | What a poor reading usually means |
|---|---|---|
| Signal Strength | How much signal is physically reaching the LNB from the satellite | Dish misaligned, obstruction (tree growth, new building), damaged cable or connector |
| Signal Quality | How clean that signal is once it reaches the decoder | Water ingress in a connector, a degraded LNB, or interference from nearby equipment |
You can have strong signal strength with poor quality, or the reverse, which is why a technician checks both readings rather than just glancing at how many bars are filled. If either one refuses to climb past the “low” threshold no matter how long you wait, that’s the wizard telling you as clearly as it can that the problem is physical, not something a menu setting will solve. We’ve written more on the difference between the two in our guide to signal strength vs signal quality. If you want to sanity-check the dish before calling anyone out, our guide on how to find a DStv signal with your phone covers what actually works.
When the wizard won’t help
This is the part people find frustrating: running the wizard over and over when the actual fault is outside what any on-screen menu can fix. Signs you need a technician rather than another wizard attempt:
- The signal strength bar won’t move past zero or one bar, even after multiple scan attempts.
- Signal was fine last week and has now dropped for no reason: often a loose connector, a cable nibbled by something in the roof space, or a dish that’s shifted in strong wind (common enough along the Franschhoek mountain passes).
- You get an error that the LNB isn’t detected at all: this usually means a faulty LNB or a break in the cable run, not a settings issue.
- The dish was recently knocked, moved, or the property had roof or gutter work done near it.
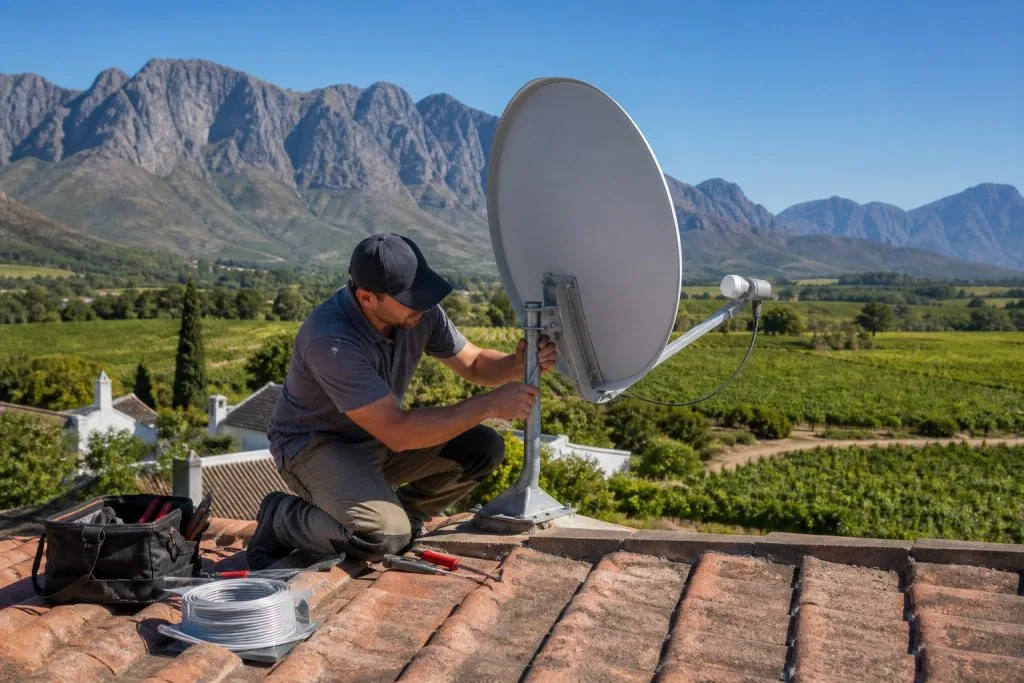
In any of these cases, running the installation wizard again just confirms what you already suspect: it can’t re-point a dish or replace a corroded connector. That’s a physical job, and it’s exactly what our satellite dish installation and alignment service handles. If you’ve been through the wizard and you’re still stuck on low signal, it’s worth booking a technician rather than repeating the scan a fourth time.
DSTV installers in Franschhoek, ready when you need us
Whether it’s a first-time install, a decoder swap, or a wizard that keeps landing on low signal no matter what you try, DSTV Franschhoek covers installations and repairs across the whole valley. Call or WhatsApp us on 079 754 5527 and we’ll usually get someone out to you the same day.
Based in Franschhoek or the surrounding Winelands? We handle full installations from the dish on the roof through to a tested TV point in the room you actually watch in. See our new DStv installation service, or start at DStv Franschhoek for everything we cover across the valley. Call 079 754 5527 or request a free quote.
The wizard assumes the dish is already aimed correctly. If it is not, no amount of on-screen setup will help. That is where a professional installation in Franschhoek comes in.
Need a DSTV technician?
Same-day DSTV installation, signal repair and Explora setup across Franschhoek and the Cape Winelands.